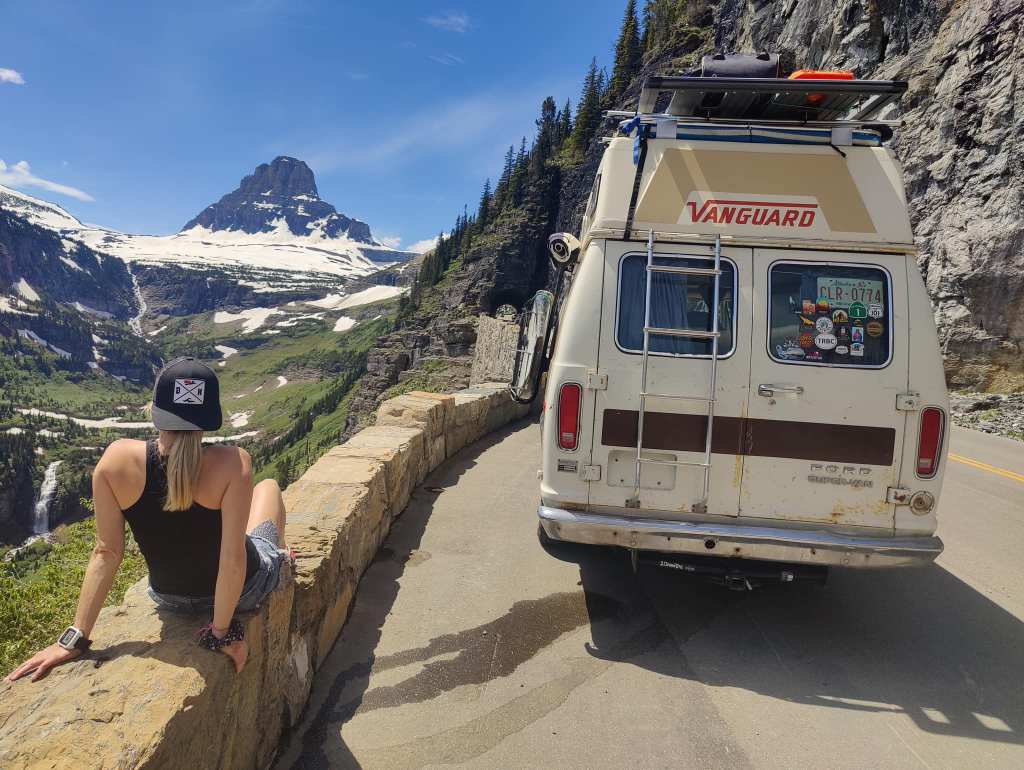
Did you know there’s a highway in Glacier National Park that’s only available to the world for a few months out of the whole year? This 51 mile stretch of blacktop usually opens around June or July, and closes again in October due to the disastrous conditions that winter brings with it. And by a stroke of luck, when we were down in Waterton at the end of June it just so happened that this stretch of highway, named the Going to the Sun Road, had JUST opened for the season. Like, literally the day before! (This is why you gotta talk to the locals when you arrive somewhere new. You never know what will come your way!)
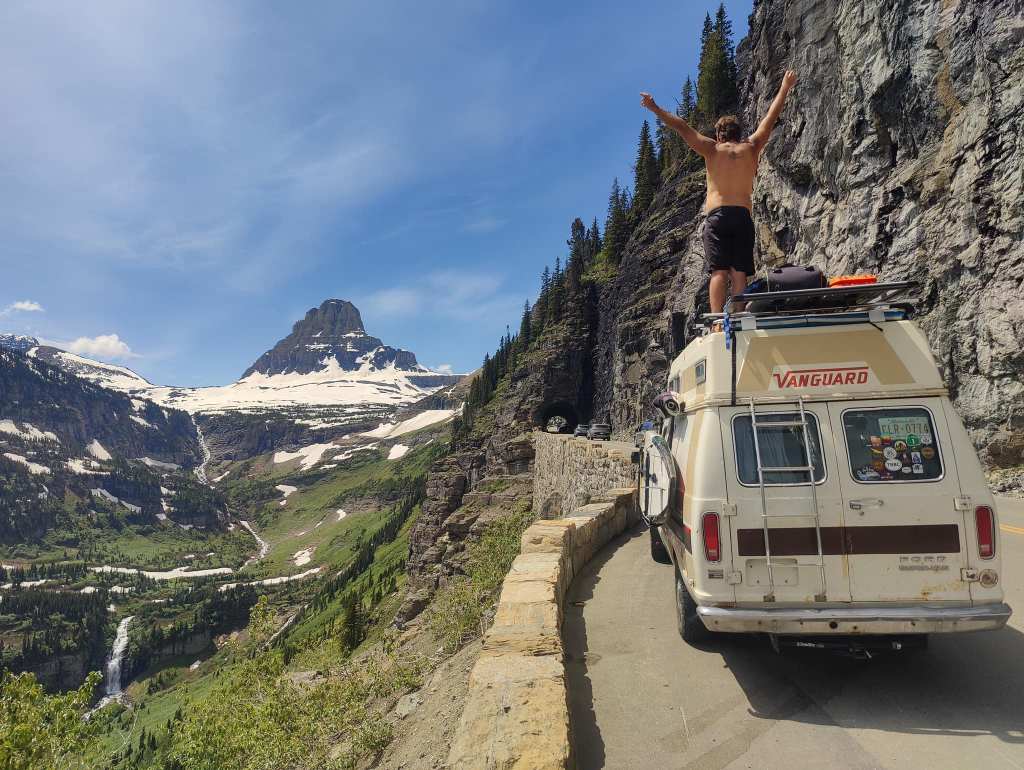
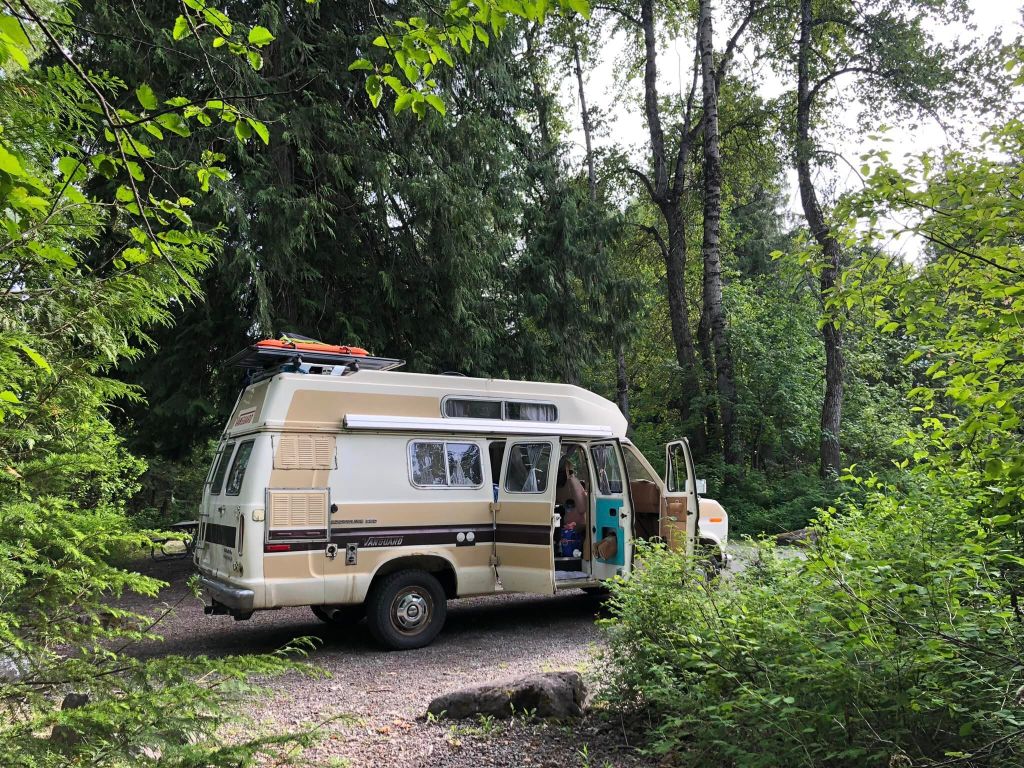
After a rainy drive down to Waterton in our 1978 Vanguard campervan, and a day of exploring the local sights, we were keen to ditch the rain and head south in search of warmer weather. In conversation with a local, it was recommended that we check out the Going to the Sun Road. While relatively short, at only 80km, it’s supposed to be one of the most beautiful drives in all of North America. And better yet, the entire road is only open for a small window of time in the summer. This meant we would be part of the limited number people that actually have the opportunity to explore it.

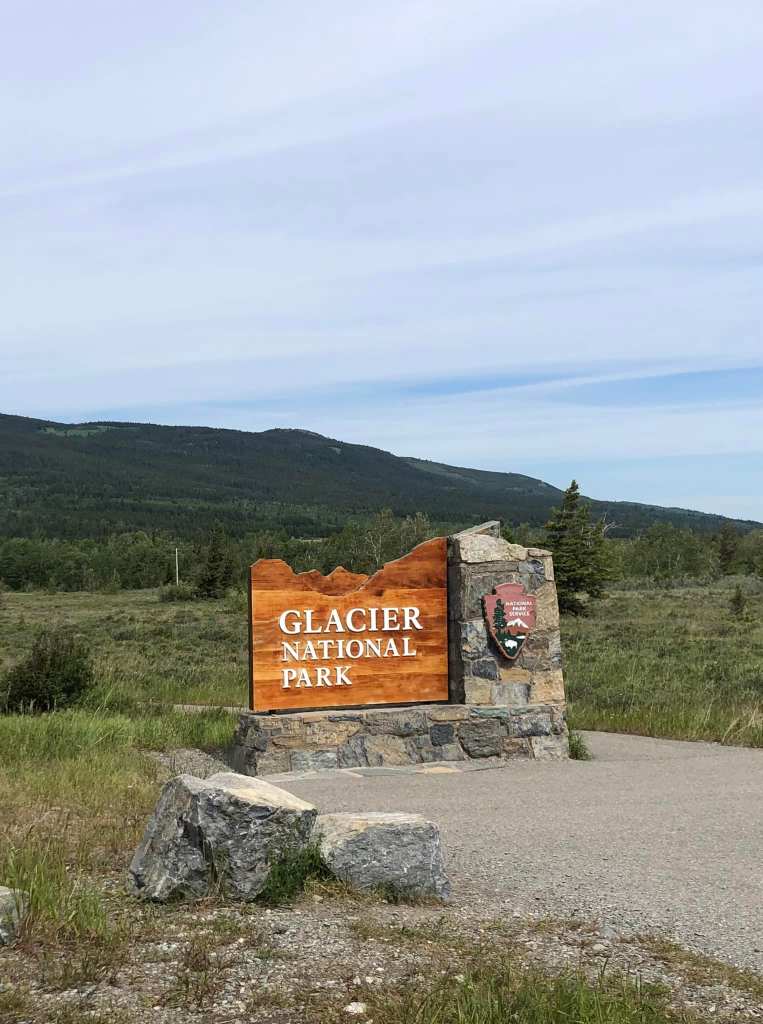
Stretching from the northern tip of St. Mary’s Lake (just off of Highway 89 outside of the small community of St. Mary), to the village of Apgar at the most southern tip of Lake McDonald, this highway winds through a beautiful collection of mountains, lakes, and meadows within Glacier National Park, Montana. Although you CAN drive the lower parts of the road all year, the upper alpine sections close during the off-season months and therefore prevent you from completing the whole drive (and really, those alpine sections are the parts that you really want to see anyway).
Logistics
Before I get into all that there is to do and see along Going to the Sun road, let’s first cover a bit of the logistics. I know it’s not the fun part, but it is the critical part. Because without knowing the logistics of this road, you may not even get to pass those gates. But, that’s also the appeal and what makes it all the more intriguing.
Routes:
You have two options for your drive:
- Going Eastbound beginning from Apgar, near the Apgar Visitor’s Center
- Going Westbound, beginning from St. Mary’s, near St. Mary’s Visitor Center
There are pros of cons of each route, but if I had to choose (not that I had the chance to check out both routes, so maybe it’s not a fair opinion), I’d say westbound. And the main reason I say this is based around anxiety. There are a few people who say the Going to the Sun Road can be scary. And for those of you who don’t do well with heights and frightening cliffs (which is me) I could see that… but only if you’re going eastbound. Eastbound travellers don’t have the safety of being next to the mountains. Instead, you’re driving right next to a steep cliff into the depths of the valleys below. A bit scary, yes. But just plan a westbound adventure and you’re laughing. Not once did I feel unsafe or like my life was flashing before me, so don’t fret! Unless you want that kind of heart-pounding adventure… in which case, eastbound all the way!
Passes and Restrictions:
Buckle up. This is where your head could start to spin…
National Park Pass
Because you’ll be driving through a National Park, an American National Park pass is required. We were able to purchase a day pass on arrival for a cost of $35 USD. For more information on park pass fees, check the National Park Service website here: Fees & Passes – Glacier National Park (U.S. National Park Service) (nps.gov)
Vehicle Entrance Pass
Due to the high number of visitors wanting to frequent this highway (remember, the whole road is only open for a few months of the year, everyone is trying to get there!), the park implements a daily vehicle restriction. Although there are many rules associated with this, generally speaking you will need to pre-purchase a vehicle registration for each vehicle to guarantee your road entry for the day. Vehicle registration passes go on sale approximately 4 months ahead of time. However, for those of you that are more like us and plan things spontaneously at the last possible minute, next day passes do go on sale online the night before at 7:00pm. For the current year’s requirements, and to buy vehicle passes, check the National Park Service website here: vehicle reservations – Glacier National Park (U.S. National Park Service) (nps.gov)
It was a bit confusing when we looked into all this information while making dinner the night before, so we did purchase a registration pass 12 hours prior to our arrival at the road. But as it turns out, at that time of year it was only required when traveling Eastbound and between the hours of 6:00am and 3:00pm, so we didn’t end up needing it as we were traveling Westbound. (This is why you make sure you read all the fine print.) But either way, if you do need to purchase a vehicle registration pass, it’s only $2 USD. So, in my opinion it’s worth it to know that your plans won’t be upended on your arrival by just buying one either way. But the choice is yours – saving that $2 does equal a cup of coffee…
You can directly purchase your vehicle registration pass here: Going-to-the-Sun Road via the West Entrance 1-Day Vehicle Reservation, Glacier National Park Vehicle Reservations – Recreation.gov
Tour Option
If, on the off chance, you aren’t able to secure a vehicle pass for the day but you’re set on making this adventure, there are other options available. And these come in the form of tours! I didn’t look into this much, so I don’t have a lot of say on the topic, but we did see a lot of vintage red long cars driving around from “Glacier National Park Red Bus Tours”. So, either way, you’ve got options!
Vehicle Size Restrictions
Also, keep in mind that there are restrictions on the size of your vehicle (long RVs and wide loads need not apply) due to safety reasons. So, make sure you check the website before you go (Going-to-the-Sun Road General Info – Glacier National Park (U.S. National Park Service) (nps.gov)) for more information and to ensure your home on wheels passes the specifications.
Now that you know all you need to know about getting on to the road (or have at least been pointed in the right direction), it’s time to get on with the adventure! Although it only takes 2 hours to complete the drive, non-stop, plan to spend the whole day along the road. There are so many stops you can make, all of which are incredible, that you’ll want to take your time, avoid rushing, and really let it all sink in.
So… ready to go?!
Our Adventure
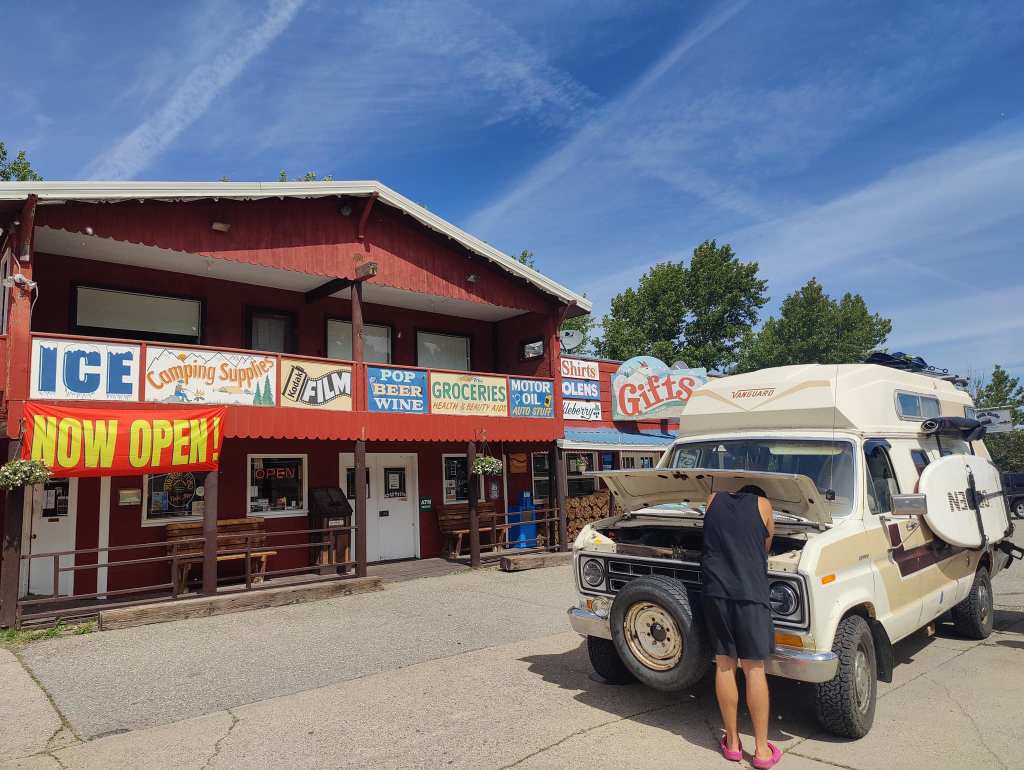
We started a little later in the day, as we didn’t leave Waterton until around 8:00am. By the time we crossed the border, made the obligatory stop at a small town gas station to stock up on local drinks, and made it through the National Park entrance gate, it was around 10:00am.
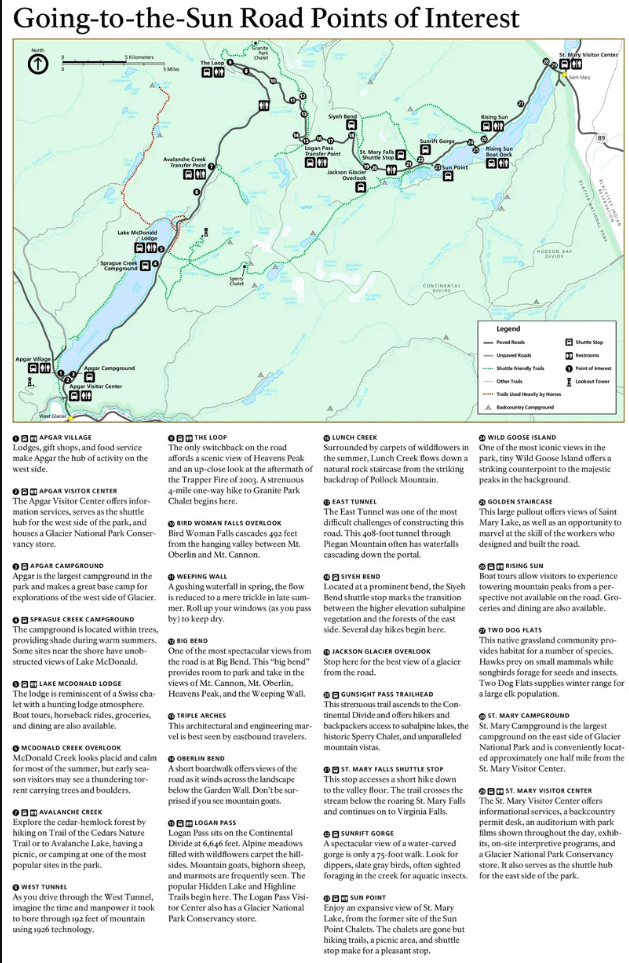
We had a bit of a wait at the park gate, but overall it was pretty quick and painless. Tip: Make sure you accept the paper the national park staff give you at the entrance gate. Inside the newspaper-like info document, there is a map listing all the key sights and points of interest with a little blurb on each of them. I wish I would have kept it, because it was my lifeline on the road, but sadly it got thrown out in a mass clean of the van post-trip. (Luckily, the online world has everything, so here’s a digital copy…)
We had initially planned to stop at every single point of interest and do all the activities that you could along the way. But I’ll tell you right now, unless you start at day break you won’t have enough time. Not only because some of the hikes are pretty solid and take up a good chunk of time, but also because it’s so busy along the road that parking is nearly impossible to snag at every stop.
I’ll give you a quick example. One of the hikes we really wanted to do was St. Mary’s Falls. However, the main parking area for this trailhead was fairly small (when you compare it to the number of cars vying for spots) and there were rangers actively driving around giving out tickets to anyone not parked in a designated area. (We actually just missed out on a ticket because of this. We had decided to make our own parking spot within the parking lot, but (thankfully) when we happened to walk back to the van to grab something we forgot, we were warned by the passing ranger that if we didn’t move our van we’d be next. So, we abandoned ship and carried on down the road instead.
But more on that later because first things first. If you need to make that initial sort-yourself-out stop, “Rising Sun” is the perfect place. It’s only a few minutes past the park gates and has a large parking lot, bathroom facilities, a gift stop, and little store where you can stock up on (overpriced) water and snacks in case you forgot anything. If you don’t need any of those things though, drive on by because there’s not much else to see or do here. And now, let’s get on to the good stuff.

Here are my top 5 favourite stops along the Going to the Sun Road
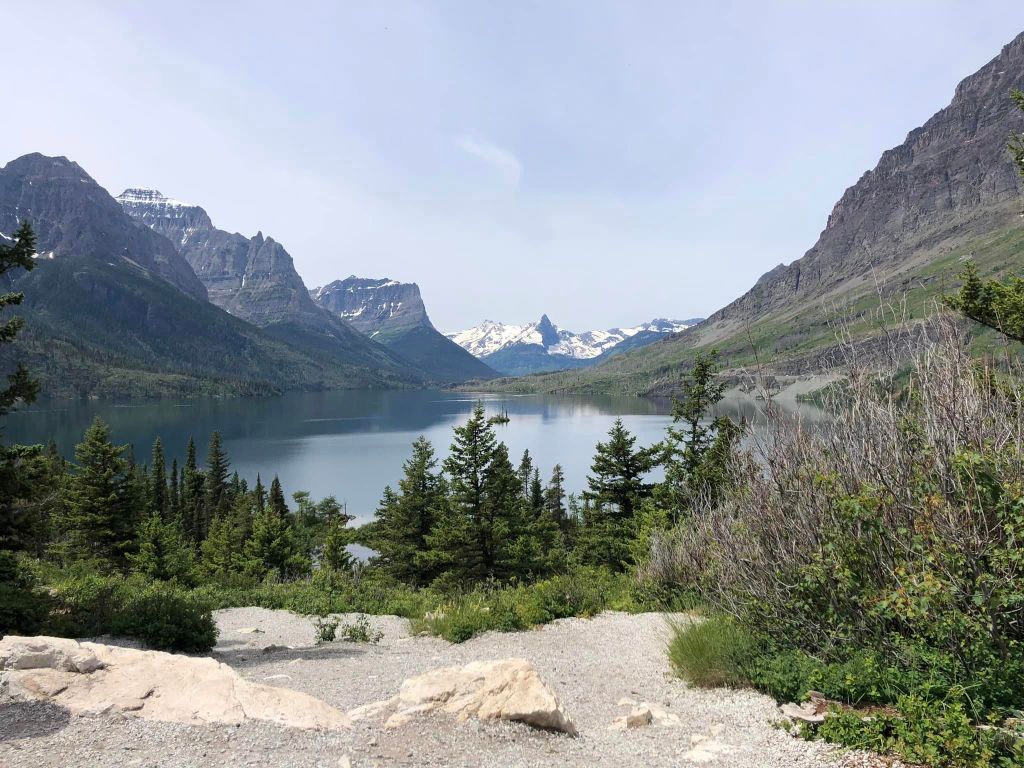
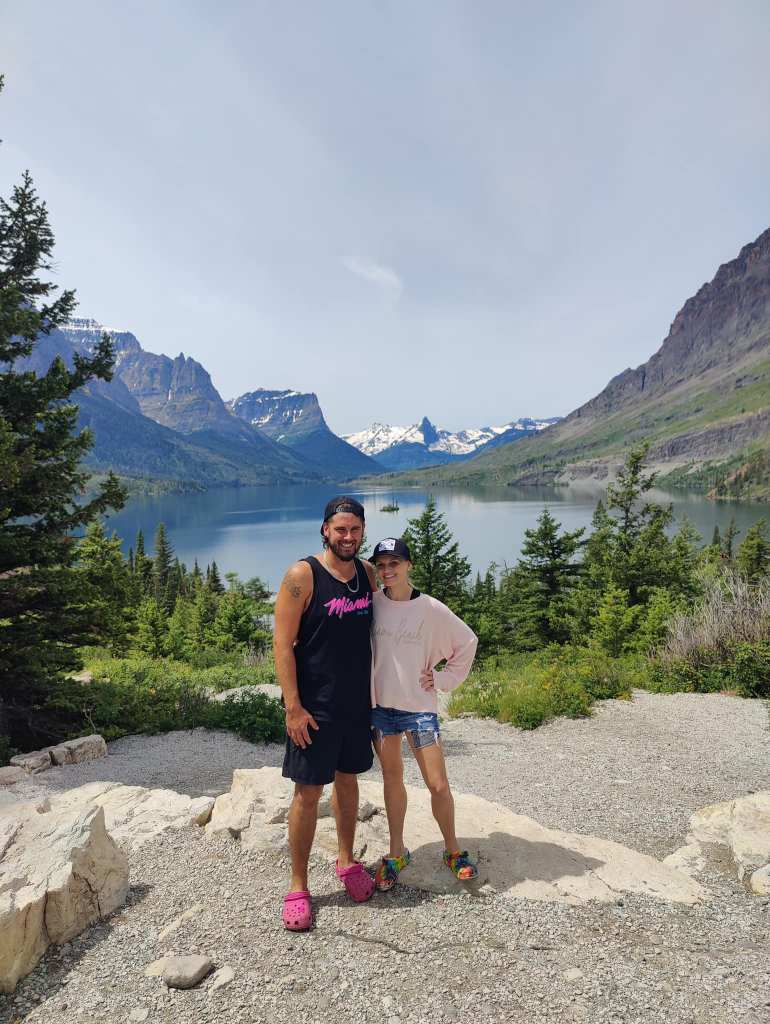
1. Wild Goose Island – one of the most iconic views along the road and very reminiscent of Jasper’s Spirit Island (except you don’t need to take a boat to see it). There are quite a few pull-outs around the lake where you can stop and stag a photo, and a great stop early in the drive. Note: there are no amenities at this stop.
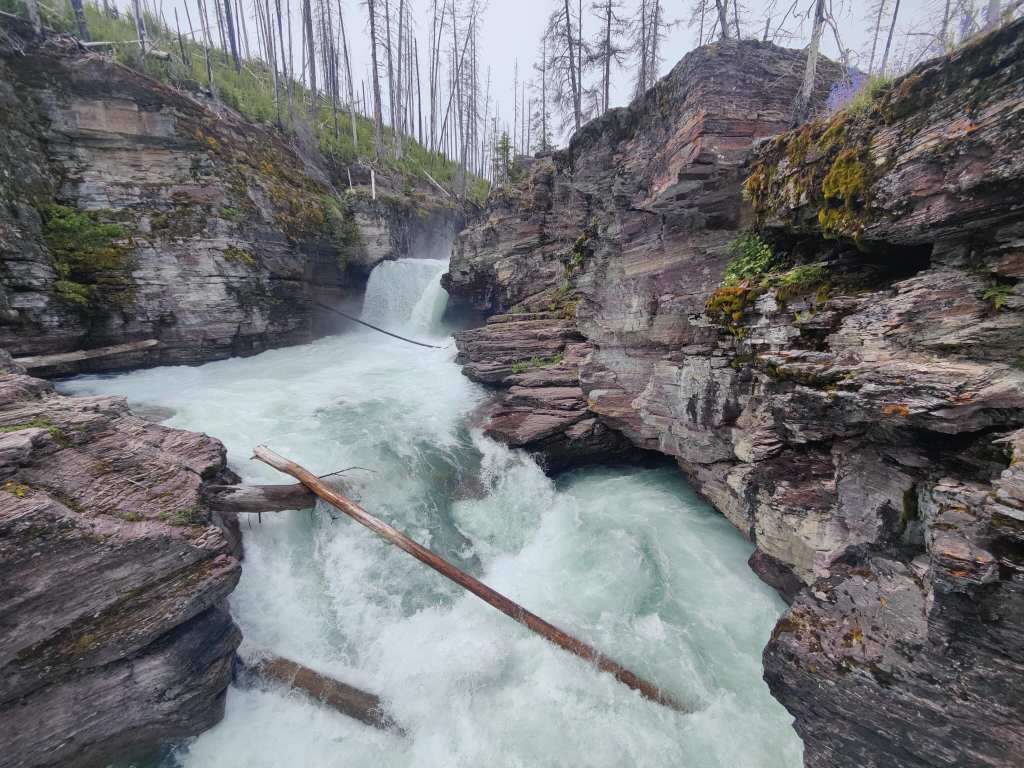
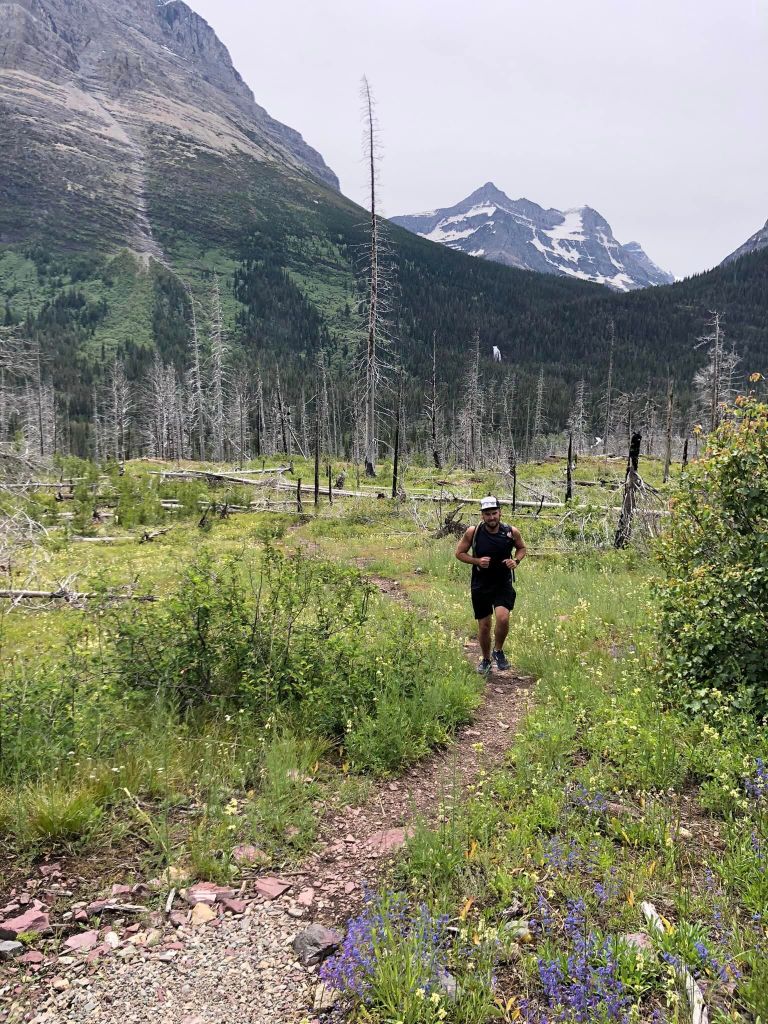
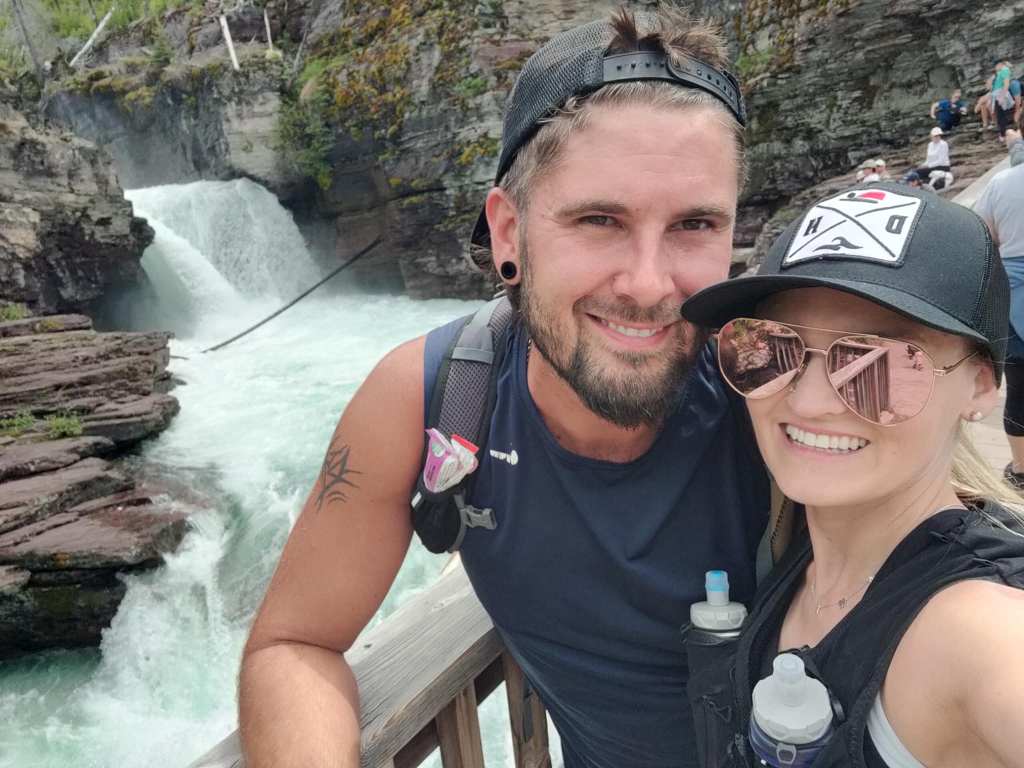
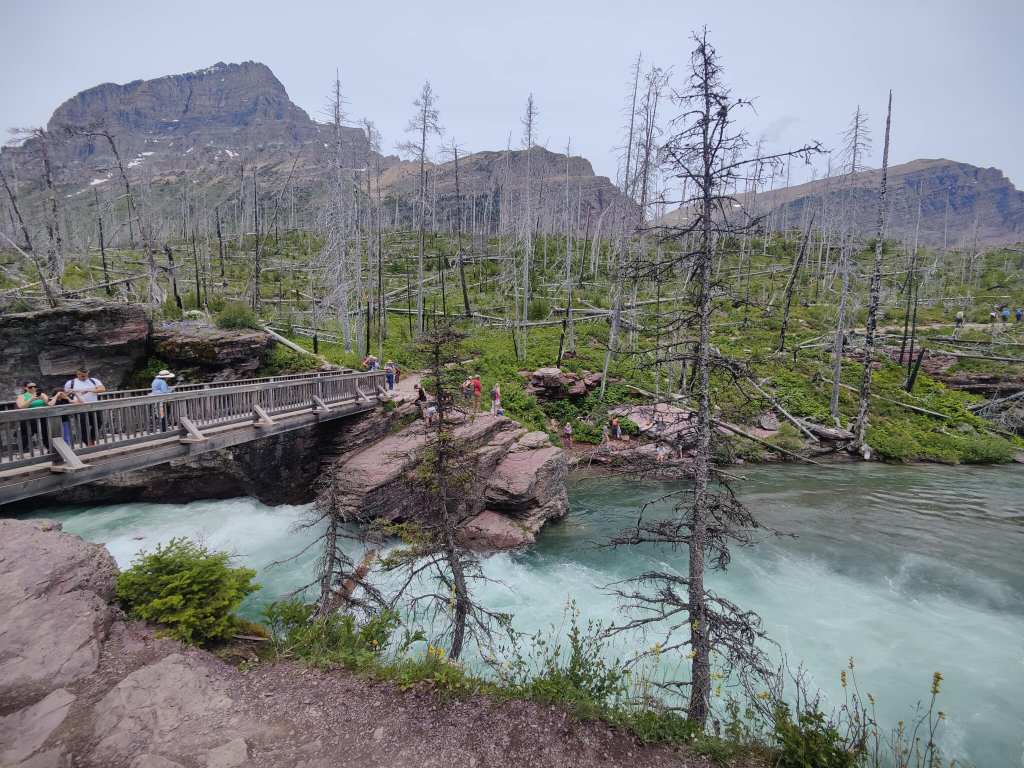
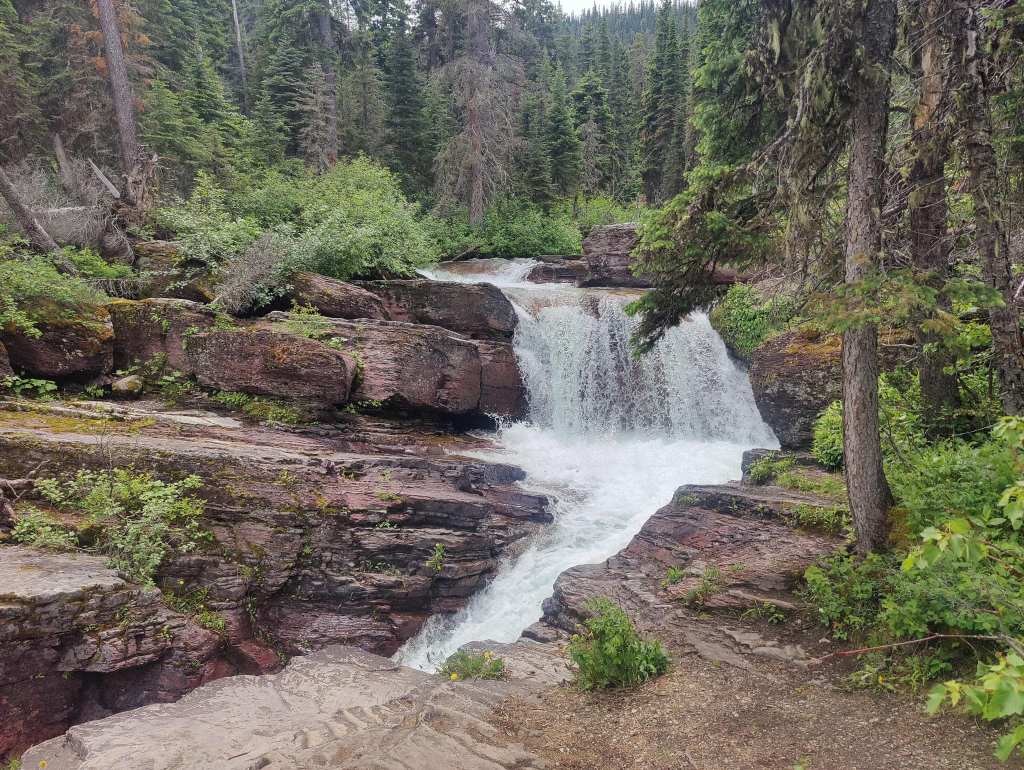
2. St. Mary’s Falls – this is a very popular spot, so therefore the parking is tough. This is where we almost got our ticket. But, there are ways around this. You really can’t pull off on the side of the road anywhere here, unless it’s a designated parking spot. But every so often there are small parking pull-outs (around 3-6 cars per). So, keep your eyes peeled and be at the ready. We ended up driving a little further up the road (about 1km), parked at one of these pull-outs and then just ran back towards the trailhead. (Yes, we sneakily got a run in.) From the start of the main trailhead it’s just shy of a 3km round-trip, easy-rated hike to the falls. (For us it was a 5km round trip run from where we parked.) And although it’s likely not recommended, we did witness (and perhaps participate in) some cliff jumping at St. Mary’s falls. The trail was fairly busy, but the scenery was gorgeous and worth dodging the numerous pedestrians. Overall, I highly recommend making this stop and hitting the trail if you can.

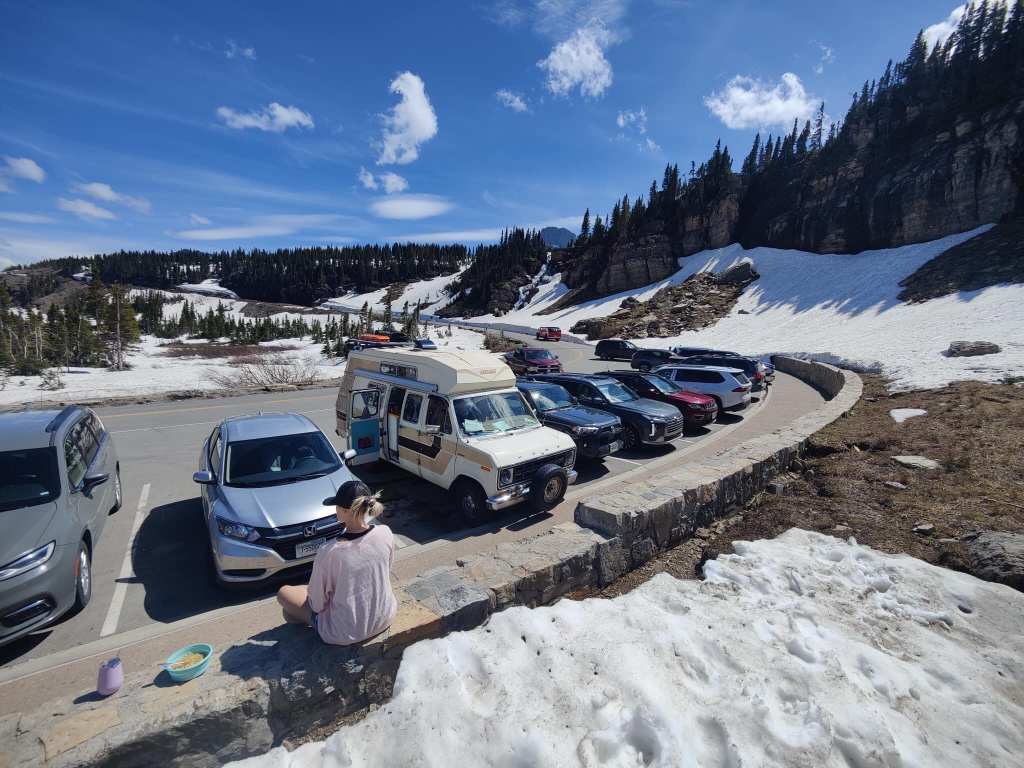
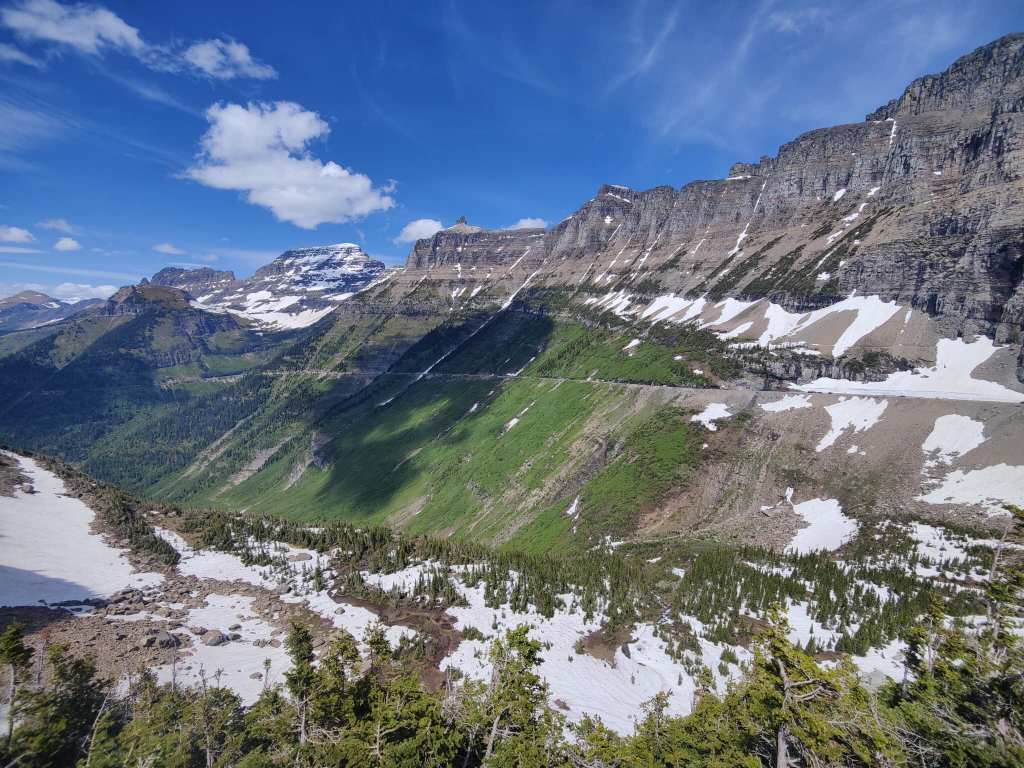
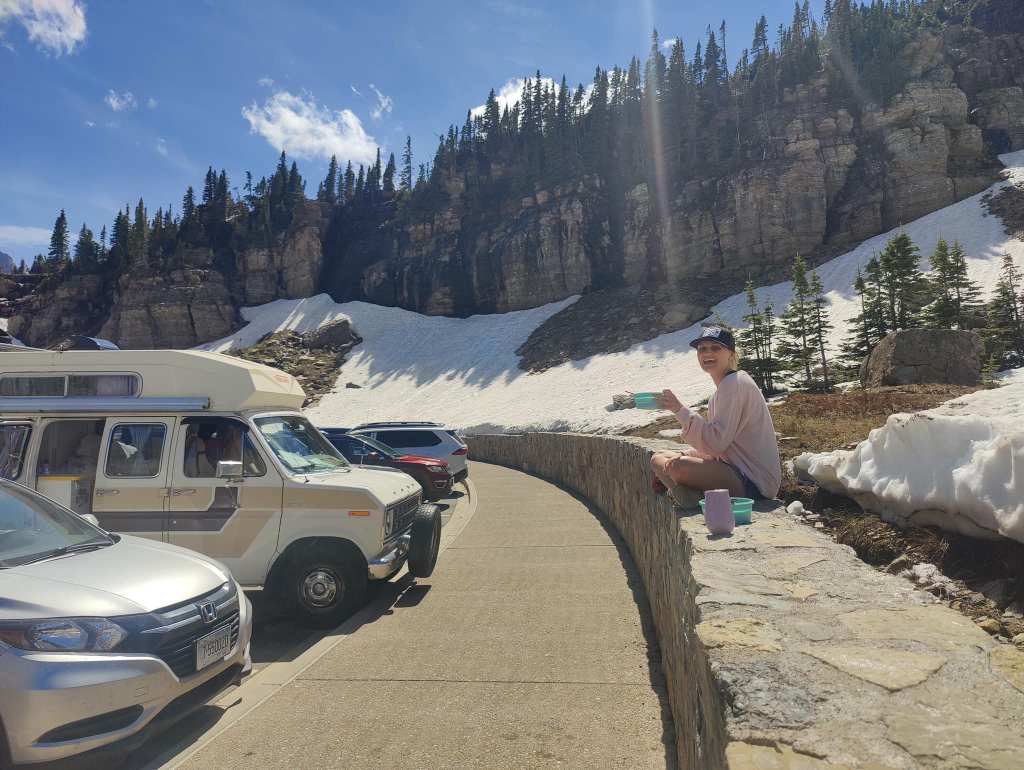
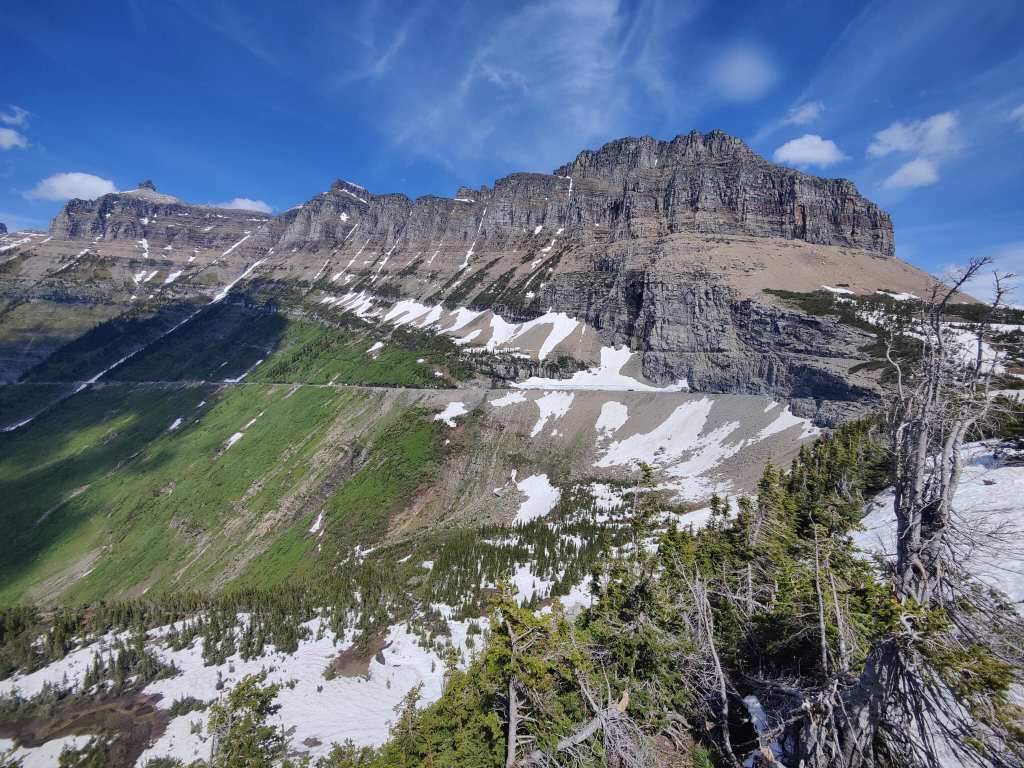
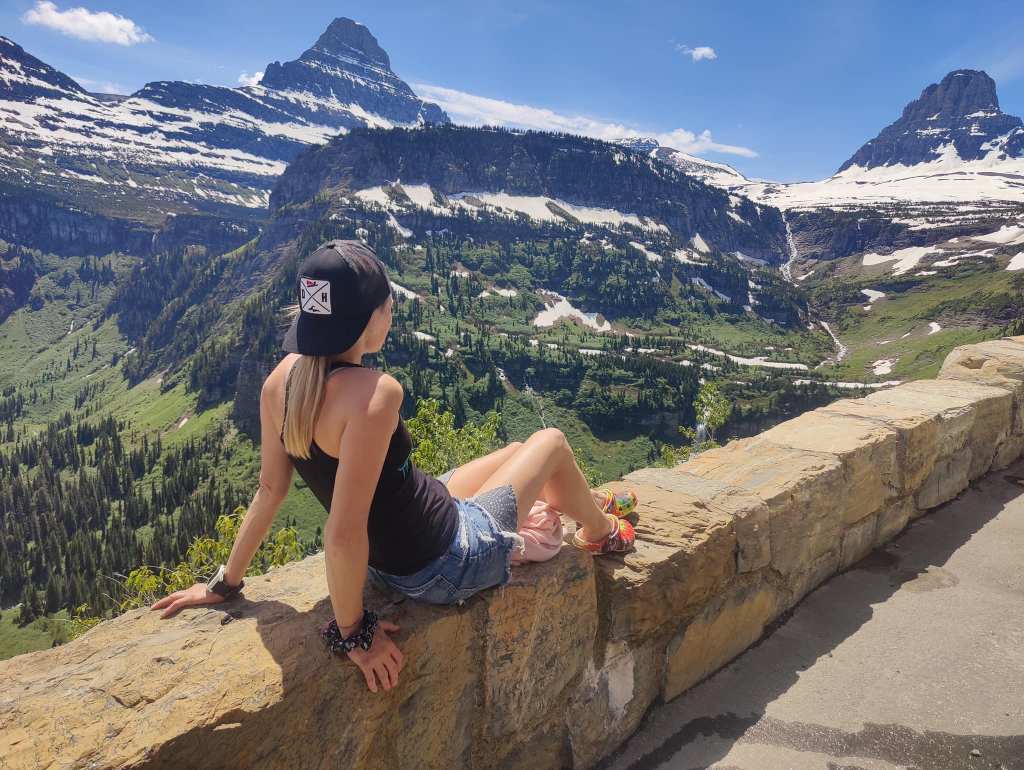
3. Oberlin Bend – Oberlin Bend is located just down the road from Logan’s Pass. Although it’s a smaller viewpoint (there’s only a few parking stalls here), truthfully I’d skip Logan’s Pass in favourite of this gem. Oberlin Bend way less crowded and gives you amazing views both up the winding road to Logan’s Pass and down the valley. There’s also a cute little boardwalk (it was still partially covered with snow when we went – which just meant snowfall fights were a must) and has a stone wall that makes a perfect lunch perch. I found this spot to feel comparable to the “toilet bowl” of the Icefields Parkway – an expansive spiral road that makes you feel like a small speck in the massive vista that surrounds you.
4. The Loop – This is another one of those stops that makes you feel tiny when you get out and look around. A great photo op can be had if you walk down the hill of the hairpin turn and pose atop one of the many large boulders (especially because you’ll only have natural beauty in the background and none of the tourists). A, on the other hand, loved this spot because the bathroom is literally carved into the side of the mountain, and you could (although you shouldn’t – according to the signage) walk over top of them. Boys.
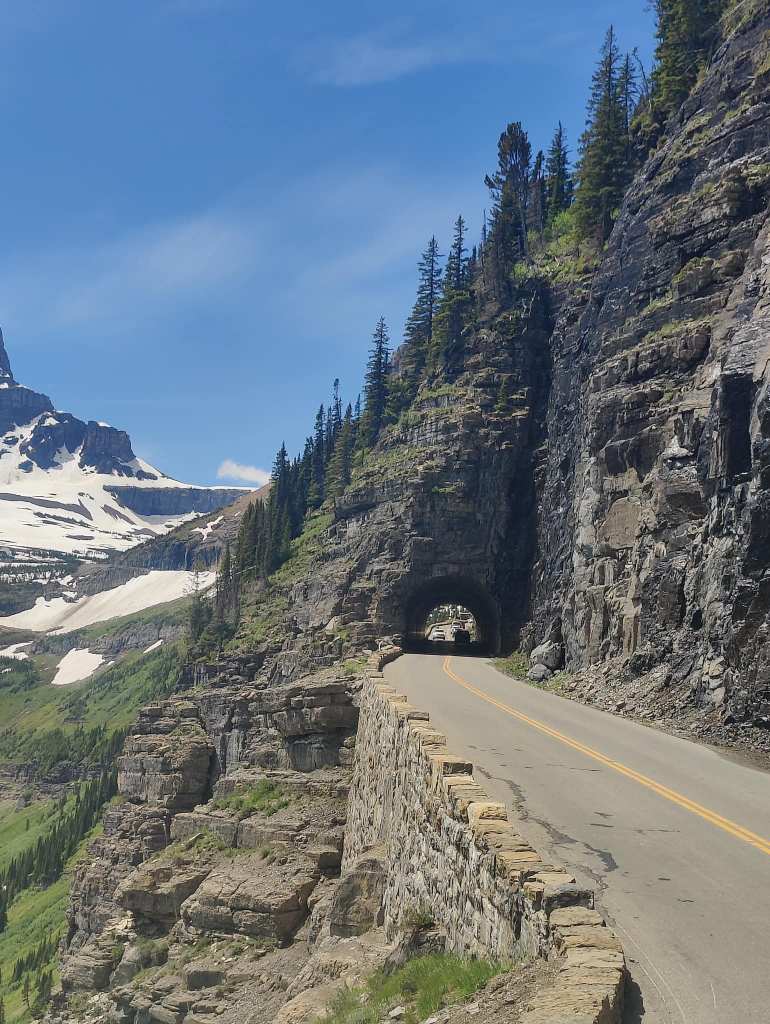
5. West Tunnel – although there isn’t a designated parking lot here, there are large shoulders and a rock retaining wall on the eastbound side of the road that allows you pull off and take in the expansive valley and marvel at the engineering masterpiece of the West Tunnel. Great photo ops here as well.
Honourable Mentions
Weeping Wall – one of those cool moments where you actually get to drive under a waterfall. Although the amount of water varies based onthe time of year, it’s just as refreshing and a great opportunity to set up a time-lapse video. However, to get the full experience (ie. actually driving under the water) you’ll need to be going westbound so your vehicle is closest to the wall. Although a westbound route prevents you from really seeing the “Triple Arches” located near Oberlin, unless you really crane your neck and look behind you, I think being able to drive under waterfalls is a way cooler experience than the (albeit) architectural marvel of the triple arches. (Although the architect in A doesn’t agree with me.)

Sprague Creek Campground – There are a bunch of day use spots here that are just off the highway and cutely tucked away in the trees. It’s a perfect place to set up for lunch, take a quick dip in the lake, or spread out your towel and lounge on the beach with a cold beer. Plus, the day use “camping” spots are only a hop, skip, and a jump away from Lake McDonald.
Overall, I highly recommend making this drive if you’re in the area, or even making it a special out-of-the-way adventure. It’s such a fun drive and an experience you’ll never forget! Now, just a couple extra tips to help you out…
Pro tips from the field
- There is no cell service while approaching the entrance gate and for your entire drive along the highway – or extremely shoddy, at best – you might get one bar here or there. So, make sure anything you need is downloaded, or you’ve taken a screenshot before.
- There are no gas stations along route, so make sure you’ve filled up beforehand.
- Although there are frequent rest stops and bathrooms along the way, there aren’t many places to buy food or drinks. (Rising Sun and Logan’s Pass seemed to be about it.) So, make sure you’ve loaded up on snacks and your water bottles are filled up. (And maybe a cooler full of drinks, on ice, for your beach chill at the end.)
– Happy Travels!


Leave a comment